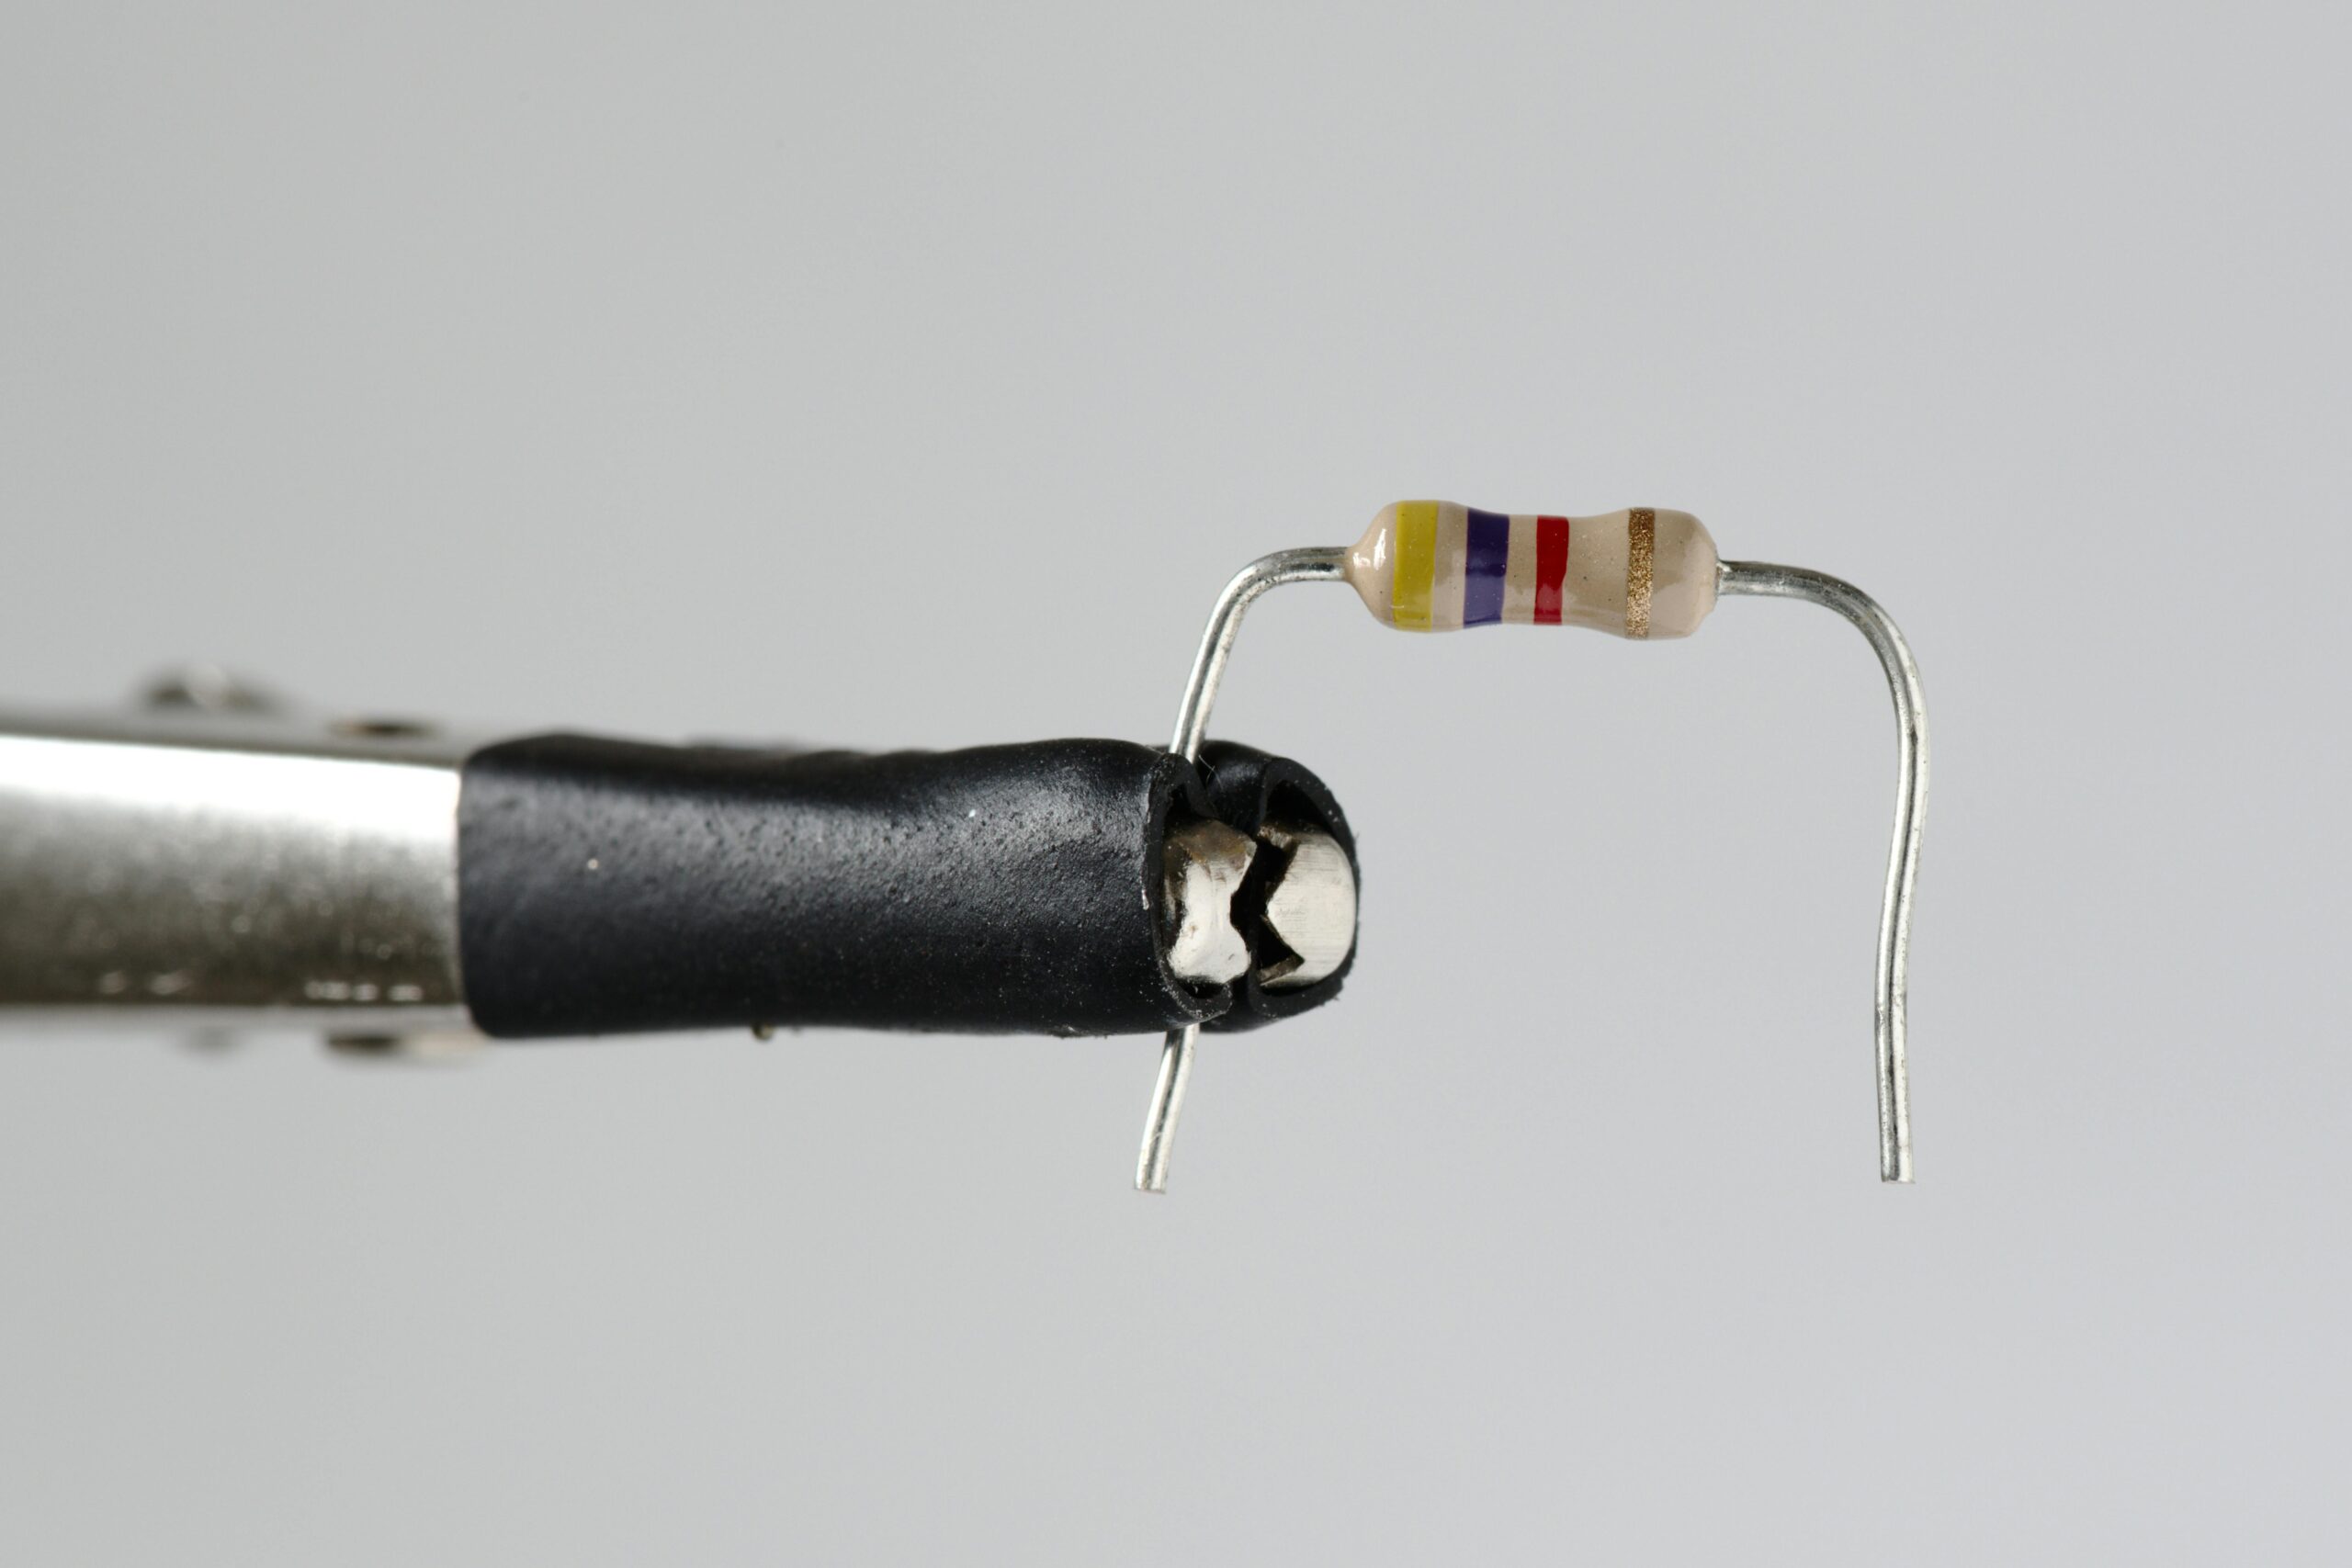
Welcome back, electronics enthusiasts! Today, we’re diving into one of the most fundamental components in the world of electronics: resistors. Resistors play a crucial role in almost every electronic circuit, regulating current, dividing voltage, and protecting sensitive components. Whether you’re just starting or looking to deepen your knowledge, this comprehensive guide will cover everything you need to know about resistors.
What is a Resistor?
A resistor is a passive electrical component that opposes the flow of current in a circuit. It’s used to control the amount of current passing through various parts of a circuit, ensuring that components operate within their safe limits.
- Symbol: R
- Unit: Ohm (Ω)
How Does a Resistor Work?
Resistors work based on the principle of Ohm’s Law, which states that the voltage (V) across a resistor is directly proportional to the current (I) flowing through it and its resistance (R).
V=I×RV = I \times RV=I×R
This equation allows us to calculate the resistance if we know the voltage and current, or vice versa.
Types of Resistors
Resistors come in various types and forms, each suited for different applications. Here are some of the most common types:
1. Fixed Resistors
Fixed resistors have a constant resistance value, which doesn’t change regardless of the voltage or current passing through them. They are widely used in most electronic circuits.
- Carbon Film Resistors: Made from a thin layer of carbon film, these resistors are cost-effective and commonly used in general applications.
- Metal Film Resistors: These resistors offer better accuracy and stability compared to carbon film resistors.
- Wire Wound Resistors: Made by winding a wire (usually an alloy like Nichrome) around a core, these resistors can handle high power levels.
2. Variable Resistors (Potentiometers)
Variable resistors allow you to adjust their resistance value manually. They are often used for tuning and calibration purposes.
- Potentiometers: Commonly used in volume controls and as tuning dials.
- Rheostats: Used in applications requiring adjustable resistance to control current.
3. Specialty Resistors
Specialty resistors are designed for specific applications with unique requirements.
- Thermistors: Temperature-sensitive resistors used in temperature sensing and control applications.
- Light Dependent Resistors (LDRs): Resistors that change their resistance based on the light intensity falling on them, used in light-sensing applications.
Reading Resistor Values
Resistors are marked with color codes or numerical codes to indicate their resistance value. Understanding these codes is essential for selecting the right resistor for your circuit.
Color Code
The resistor color code consists of bands of colors, each representing a number. Here’s how to read them:
- First Band: First significant digit
- Second Band: Second significant digit
- Third Band: Multiplier
- Fourth Band: Tolerance (accuracy)
For example, a resistor with bands of brown, black, red, and gold would have a value of 1,000 ohms (1kΩ) with a tolerance of ±5%.
Numerical Code
Some resistors, especially surface-mount resistors, use a numerical code. For example, a resistor marked with “103” has a value of 10kΩ (10 followed by 3 zeros).
Applications of Resistors
Resistors are used in a multitude of applications in electronics:
1. Current Limiting
Resistors are used to limit the amount of current flowing through a circuit, protecting sensitive components like LEDs and microcontrollers from excessive current.
2. Voltage Division
Voltage dividers use resistors to create a desired voltage output. This is useful in applications like sensor interfaces and analog-to-digital converters.
3. Pull-Up and Pull-Down Resistors
These resistors ensure that input pins on digital circuits have a defined logic level when no active signal is present. Pull-up resistors connect to the positive voltage, while pull-down resistors connect to the ground.
4. Timing and Oscillators
Resistors are used in combination with capacitors in timing circuits and oscillators, controlling the charge and discharge rate to generate specific time intervals and frequencies.
Practical Example: Using a Resistor to Protect an LED
Let’s put this knowledge into practice with a simple example: protecting an LED in a circuit.
Materials:
- LED
- 330Ω resistor
- Breadboard
- 9V battery
- Jumper wires
Steps:
- Connect the Battery: Attach the positive terminal of the 9V battery to the breadboard.
- Add the Resistor: Connect one end of the 330Ω resistor to the positive rail of the breadboard.
- Connect the LED: Attach the anode (longer leg) of the LED to the other end of the resistor, and the cathode (shorter leg) to a separate row on the breadboard.
- Complete the Circuit: Use a jumper wire to connect the cathode of the LED back to the negative terminal of the battery.
When you connect everything, the LED should light up without burning out, thanks to the current-limiting resistor.
Conclusion
Resistors are indispensable components in electronics, offering control and stability in countless applications. By understanding how they work, the different types available, and how to read their values, you’ll be well-equipped to design and troubleshoot your own circuits. Keep experimenting and stay curious—there’s a whole world of electronics to explore!

