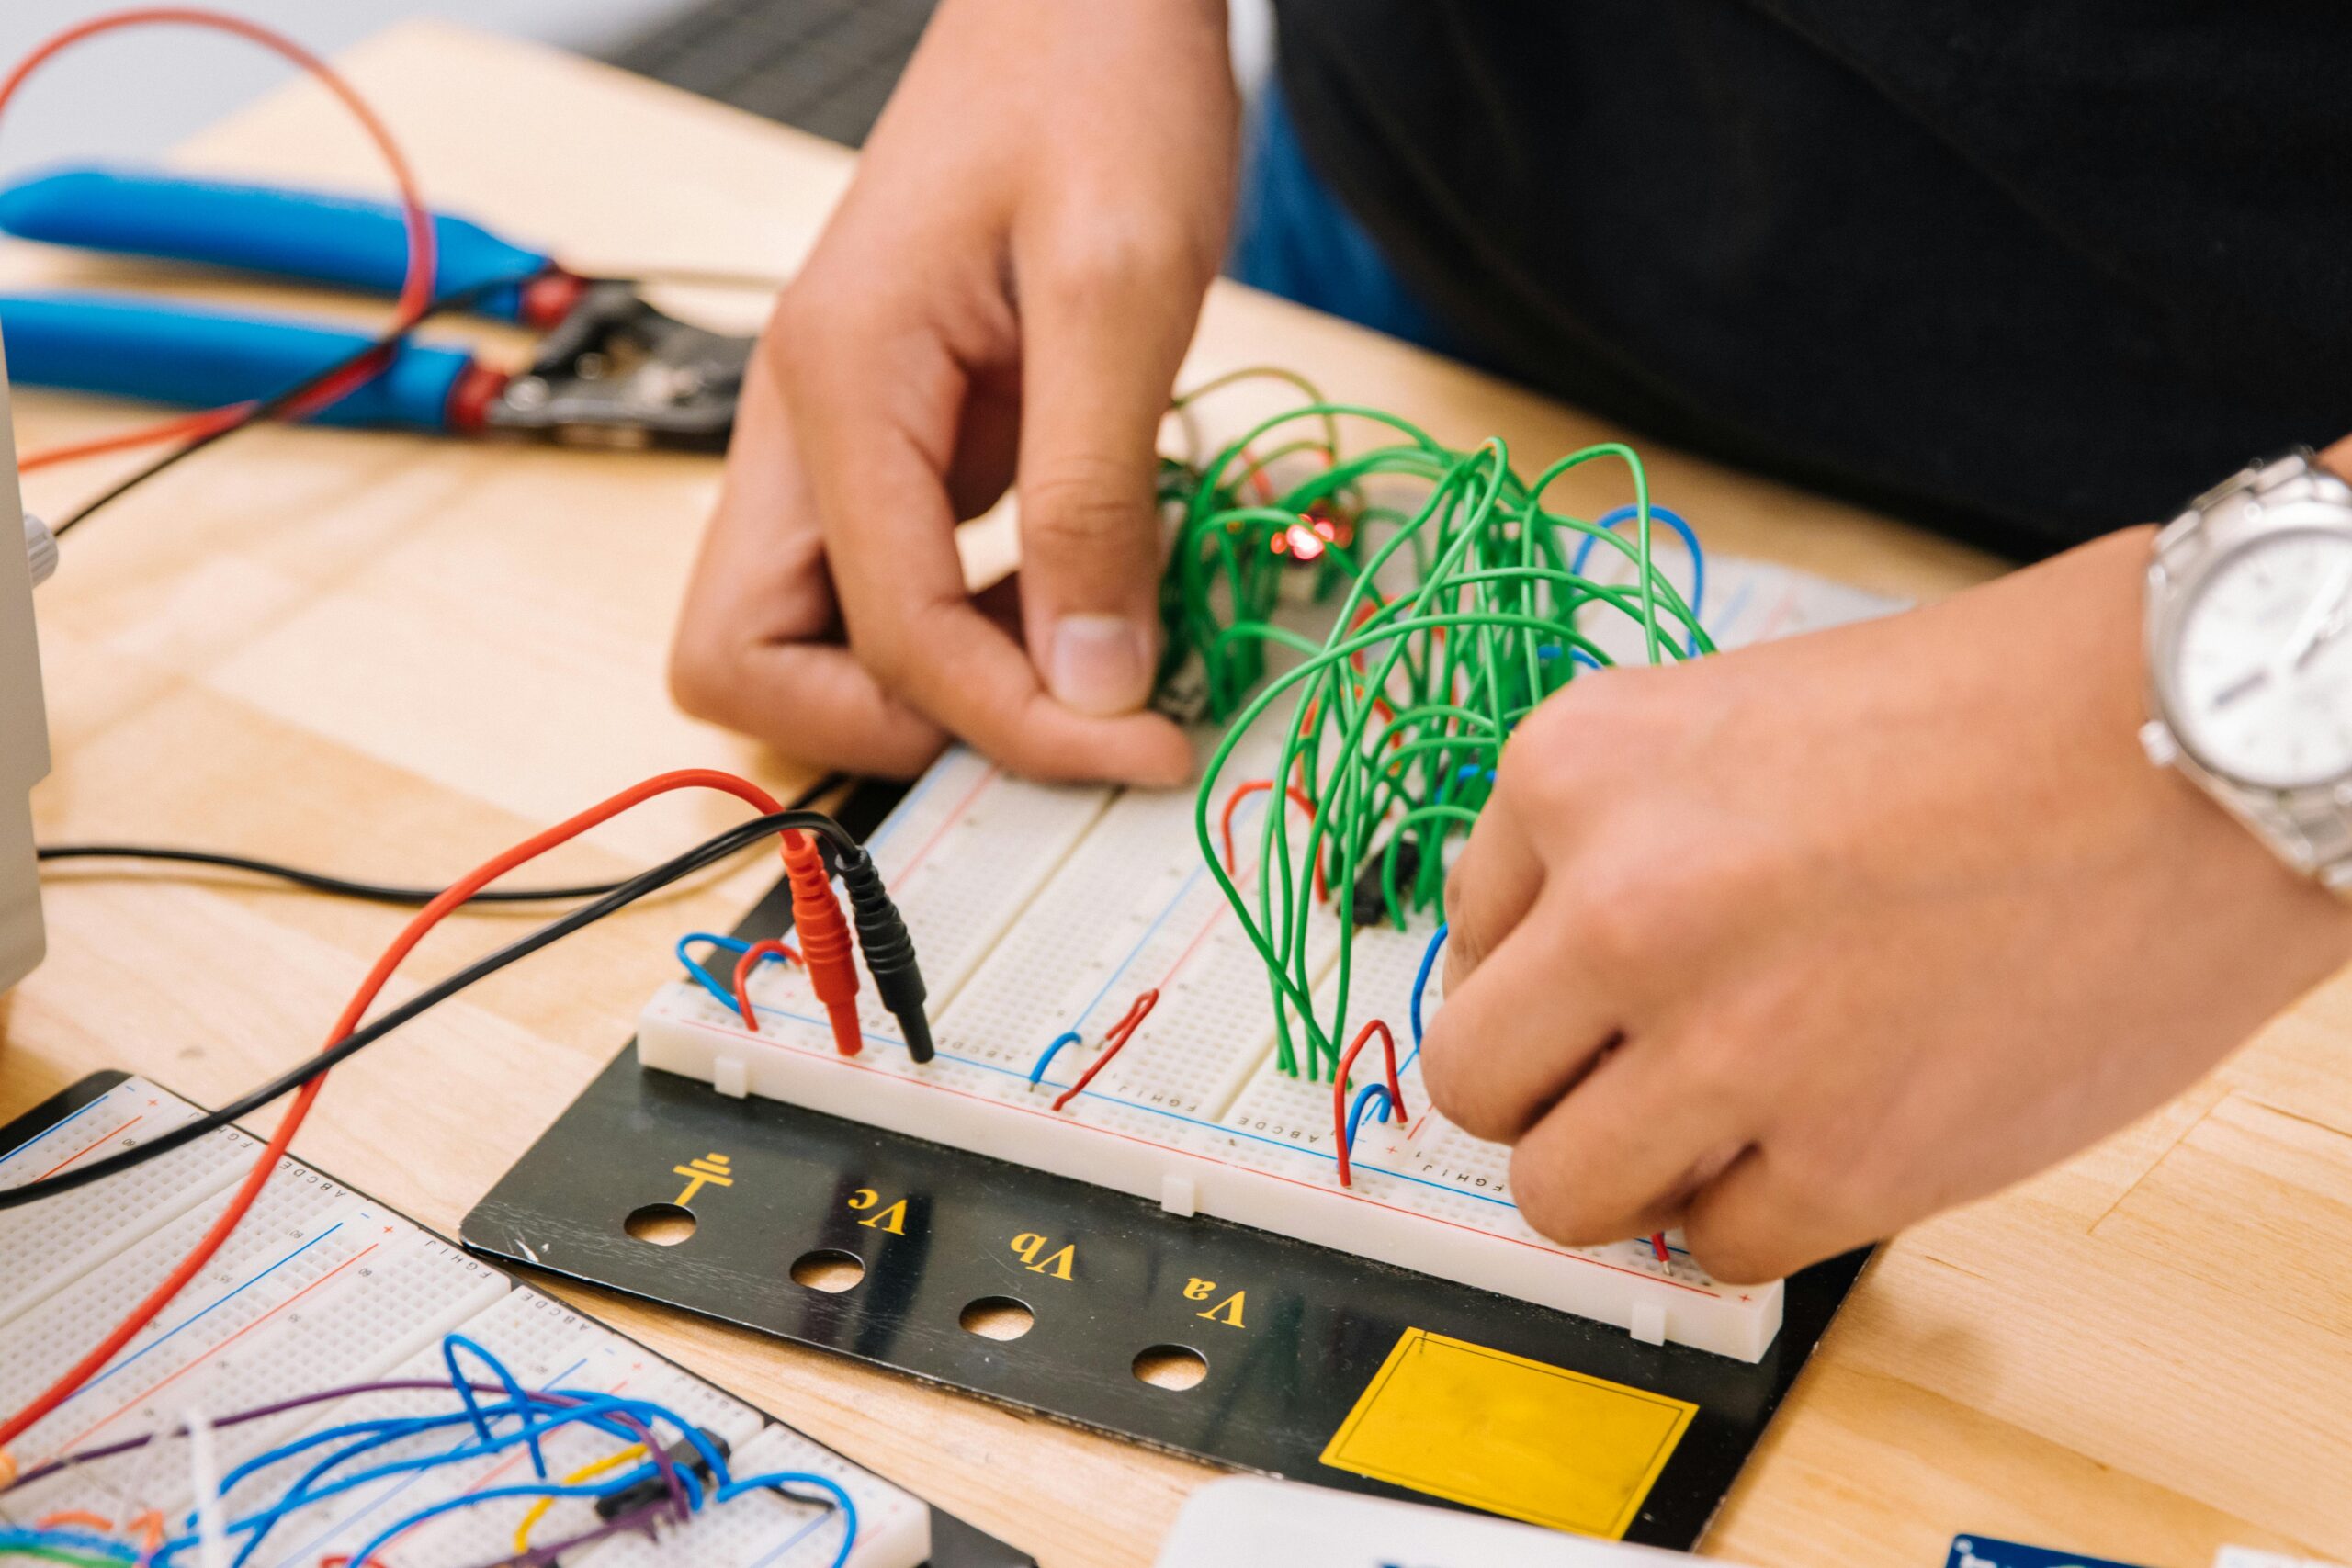
Welcome back, electronics enthusiasts! If you’re diving into the world of electronics, one of the first tools you’ll need is a breadboard. This versatile and essential component allows you to prototype and test circuits without soldering, making it perfect for beginners and experts alike. In this comprehensive guide, we’ll explore everything you need to know about breadboards, from their structure to practical applications
What is a Breadboard?
A breadboard is a reusable platform for building and testing electronic circuits. It features a grid of interconnected holes where you can insert components and wires to create circuits quickly and easily. Breadboards come in various sizes, but the basic principles of use remain the same.
Why Use a Breadboard?
- No Soldering Required: Easily modify and troubleshoot your circuits.
- Reusable: Create and dismantle circuits as needed.
- Versatile: Suitable for a wide range of projects and components.
Breadboard Structure
Understanding the layout of a breadboard is crucial for effective use. A typical breadboard consists of several sections:
1. Power Rails
Located on the sides of the breadboard, power rails are long rows of holes typically marked with red (+) and blue (-) lines. They are used to distribute power (voltage) and ground (0V) to the entire board.
2. Terminal Strips
The central area of the breadboard consists of terminal strips where most of the circuit components are placed. These strips are divided into two sections by a central groove.
3. Rows and Columns
- Rows: Holes in each row are connected horizontally. Each row is usually five holes wide.
- Columns: Power rails run vertically along the sides of the breadboard, connecting all holes in the column.
4. Center Divider
The central groove divides the breadboard into two halves, creating an area where integrated circuits (ICs) can be placed. Each half of the terminal strip is electrically isolated from the other.
Using a Breadboard
Step-by-Step Guide
Let’s go through the basic steps to use a breadboard for building a simple LED circuit.
Materials:
- Breadboard
- 9V battery and battery clip
- 330Ω resistor
- LED
- Jumper wires
Steps:
- Power the Breadboard:
- Connect the positive (red) wire of the battery clip to the positive power rail.
- Connect the negative (black) wire of the battery clip to the negative power rail.
- Place the LED:
- Insert the anode (longer leg) of the LED into one of the terminal strip holes.
- Insert the cathode (shorter leg) into an adjacent row.
- Add the Resistor:
- Connect one end of the 330Ω resistor to the same row as the LED’s cathode.
- Connect the other end to a different row.
- Complete the Circuit:
- Use a jumper wire to connect the row with the LED’s anode to the positive power rail.
- Use another jumper wire to connect the row with the resistor to the negative power rail.
When connected, the LED should light up, demonstrating a simple series circuit using a breadboard.
Advanced Breadboard Techniques
1. Complex Circuits:
As you advance, you’ll build more complex circuits involving multiple components such as resistors, capacitors, transistors, and ICs. Use multiple breadboards if needed, and ensure power is consistently distributed.
2. Integrated Circuits (ICs):
Place ICs across the center divider to separate the pins into two groups. This allows easy access to each pin for connections to other components.
3. Prototyping Tips:
- Organize Your Layout: Keep power rails and signal paths clean to avoid confusion.
- Use Color-Coded Wires: Simplifies identifying connections (e.g., red for power, black for ground).
- Test Connections: Use a multimeter to check for continuity and correct voltages before powering up the circuit.
Common Mistakes to Avoid
1. Incorrect Connections:
Ensure components are placed in the correct rows and columns. Misplaced connections can lead to short circuits or non-functioning circuits.
2. Overloading Power Rails:
Avoid drawing too much current through the power rails. Use multiple power sources for high-power circuits.
3. Loose Connections:
Ensure all wires and components are firmly inserted into the breadboard holes to maintain reliable connections.
Conclusion
Breadboards are indispensable tools for anyone working in electronics, offering a flexible and reusable platform for prototyping and testing circuits. By understanding their structure and mastering their use, you’ll be able to experiment, learn, and innovate with confidence. Keep exploring, stay curious, and happy breadboarding!

